Making homemade gift bags is an easy way to prepare a customized gift for an individual. However, they can also be a convenient way to customize several gift bags for gifts that you may want to give to a larger group of people. And the cool part is that homemade gift bags can also be made with card stock paper! Thus far, you have seen how to make a mini notebook without glue, mini notebook with glue, traditional homemade cards, and homemade pop-up cards with card stock paper. You can also make really cute homemade gift boxes with card stock paper.
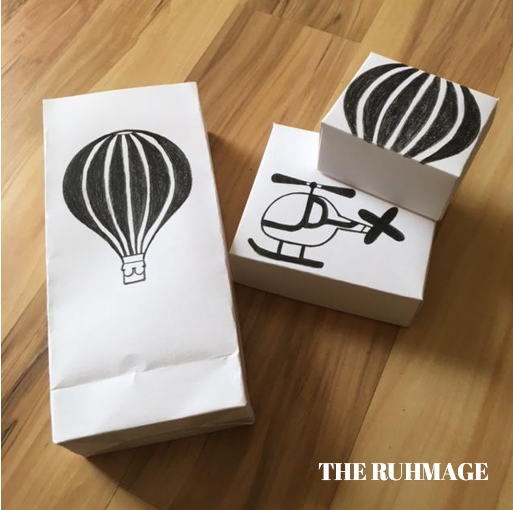
The homemade gift bags can be made a few different ways. First, you can use colored card stock paper instead of white card stock. Secondly, you can use double sided card stock paper that provides sides with two different colors. Thirdly, homemade gift bags that are made with card stock are rigid enough for you to actually insert bag handles. You can use paracord rope or twisted raffia string or ropes.
Quick Start Guide

- Card Stock Paper (8.5 x 11 in)
- Basic Ruler (12-inch)
- Scissors
- Paper Glue
- Stencil Designs
- Stencil Letters (1.5-inch)
- Map Pencils
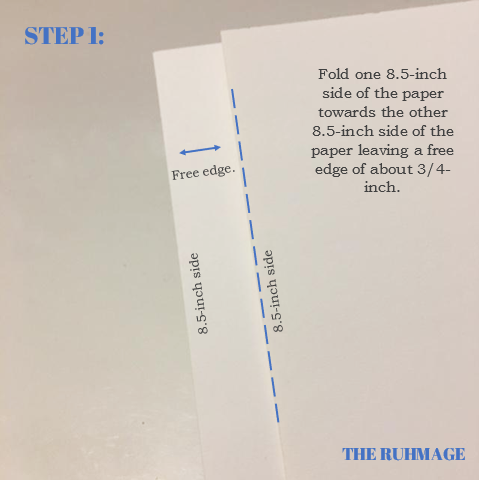
Step 1: Fold one 8.5 x 11-inch card stock sheet of paper in half with the 8.5-inch side folded over to the other 8.5-inch end leaving a small space (about 3/4-inch) from the edge.
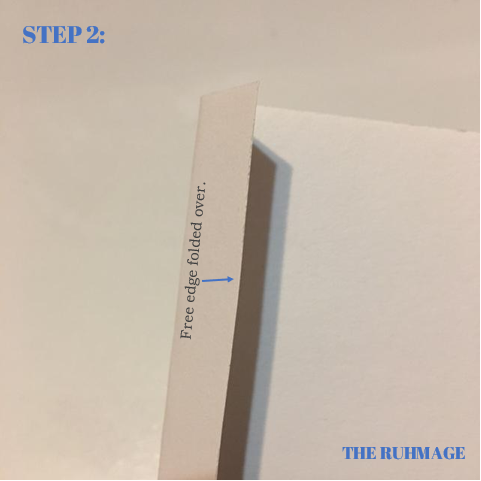
Step 2: Next, fold the uncovered 3/4-inch edge over the folded part of the paper.
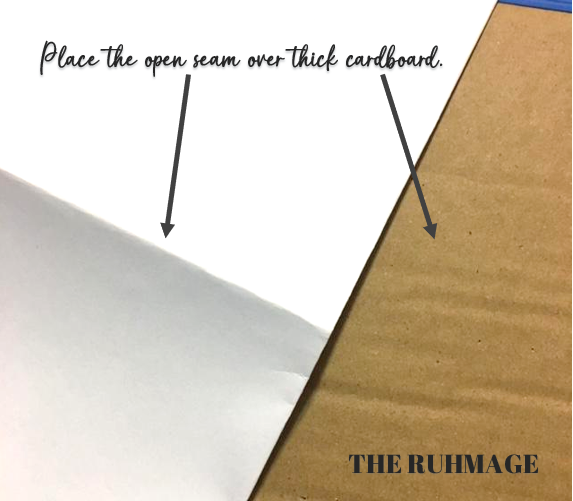
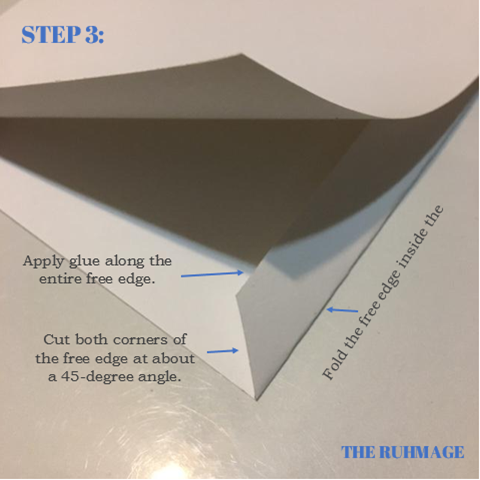
Step 3: Then, cut both corners of the small, folded edge at an angle as shown. Place the folded free edge inside the paper. Next, apply a thin layer of glue and let the glue dry.
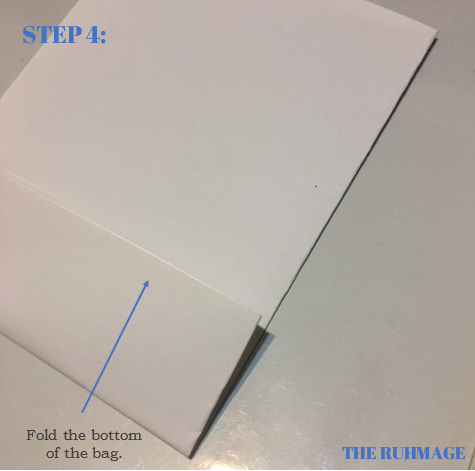
Step 4: Now, use your ruler to measure about 1.5 inches from one of the open ends of the bag. Place a small dot or line using a pencil with an eraser. Then, fold the bag at the dot mark or line. Erase the dot or line.
Step 5: Now fold the bottom of the bag to form to triangles as shown in the picture.

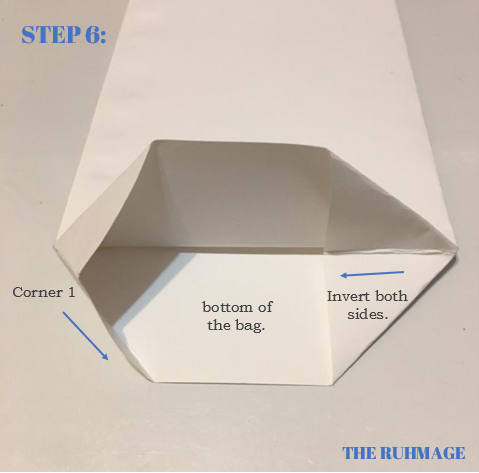
Step 6: Unfold the bottom of the bag and invert the sides as shown.
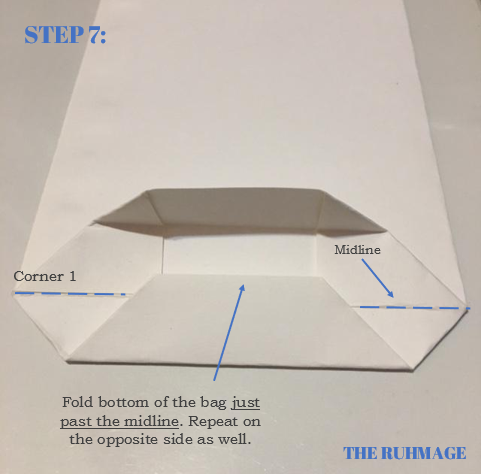
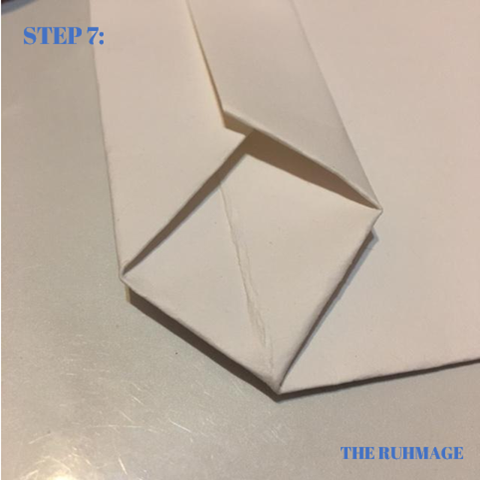
Step 7: Then fold the superior aspect of the bag’s bottom slightly past the midline. Do the same with the inferior aspect of the bag. Apply glue to the over lapping parts and let dry.
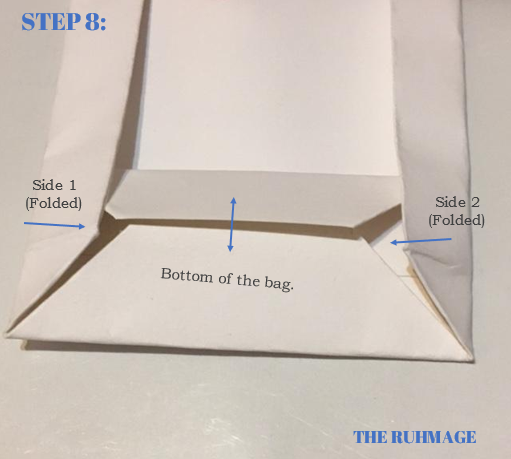
Step 8: Now fold both of the sides of the bag to meet the triangular area that forms on the bottom of the bag.
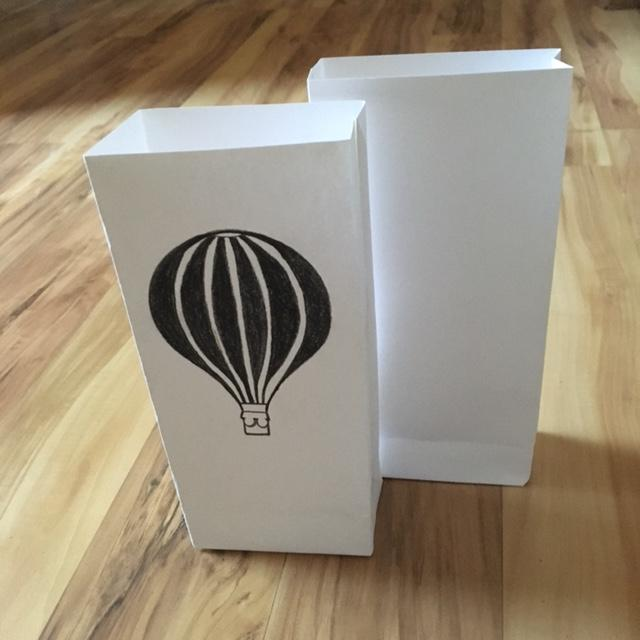
Step 9: Now, once the glue dries well, insert your hand into the bag to unfold the bottom of the bag. Then, use your hands to invert the sides of the bag using the fold marks that you have made.

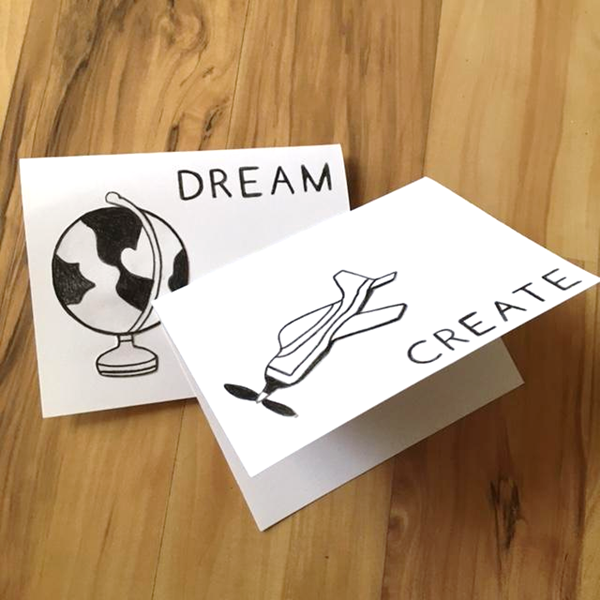
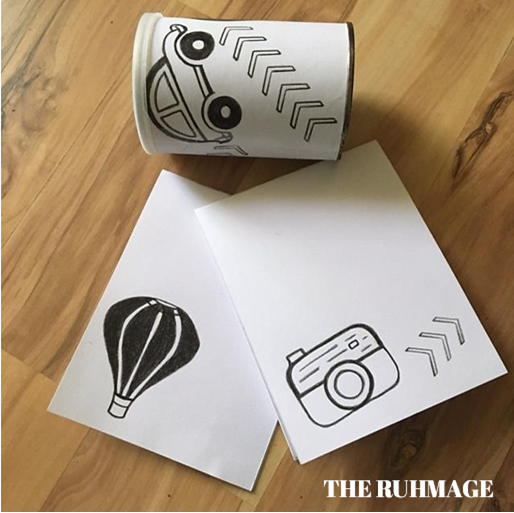
Step 10: The only thing left to do is add your stencil drawings.
In Summary
This is another great way to customize gifts for some of your close friends and family. If you enjoyed this post, please like and share. Subscribe to the blog to get notified about the next blog posts. I hope you enjoy making and using some of the homemade gift bags!